Racking and the Fermentasaurus

After three weeks it's finally time to bottle my Miner's Stout. I bottle to 750ml PET bottles, so I normally drop two sugar tabs into each bottle and add the beer on top. But the two brews I've tried so far have generally lacked carbonation, and I don't like that the drops take some to dissolve at the bottom of the bottle, creating a syrupy mixture under the beer.
So, instead, I decided to create a priming solution and mix that with the beer before bottling. Two options for doing this are to add the solution to the fermenting vessel with the beer, or rack the beer to a second FV that already contains the solution.
Because the stout had been sitting in the same (primary) fermenter for three weeks, with dry hop additions, I didn't want to add the priming solution and risk stirring up the trub. I decided for the latter option. The problem is, both of my FVs are in use: one for the stout and the other for last week's homegrown pale ale. What to do?
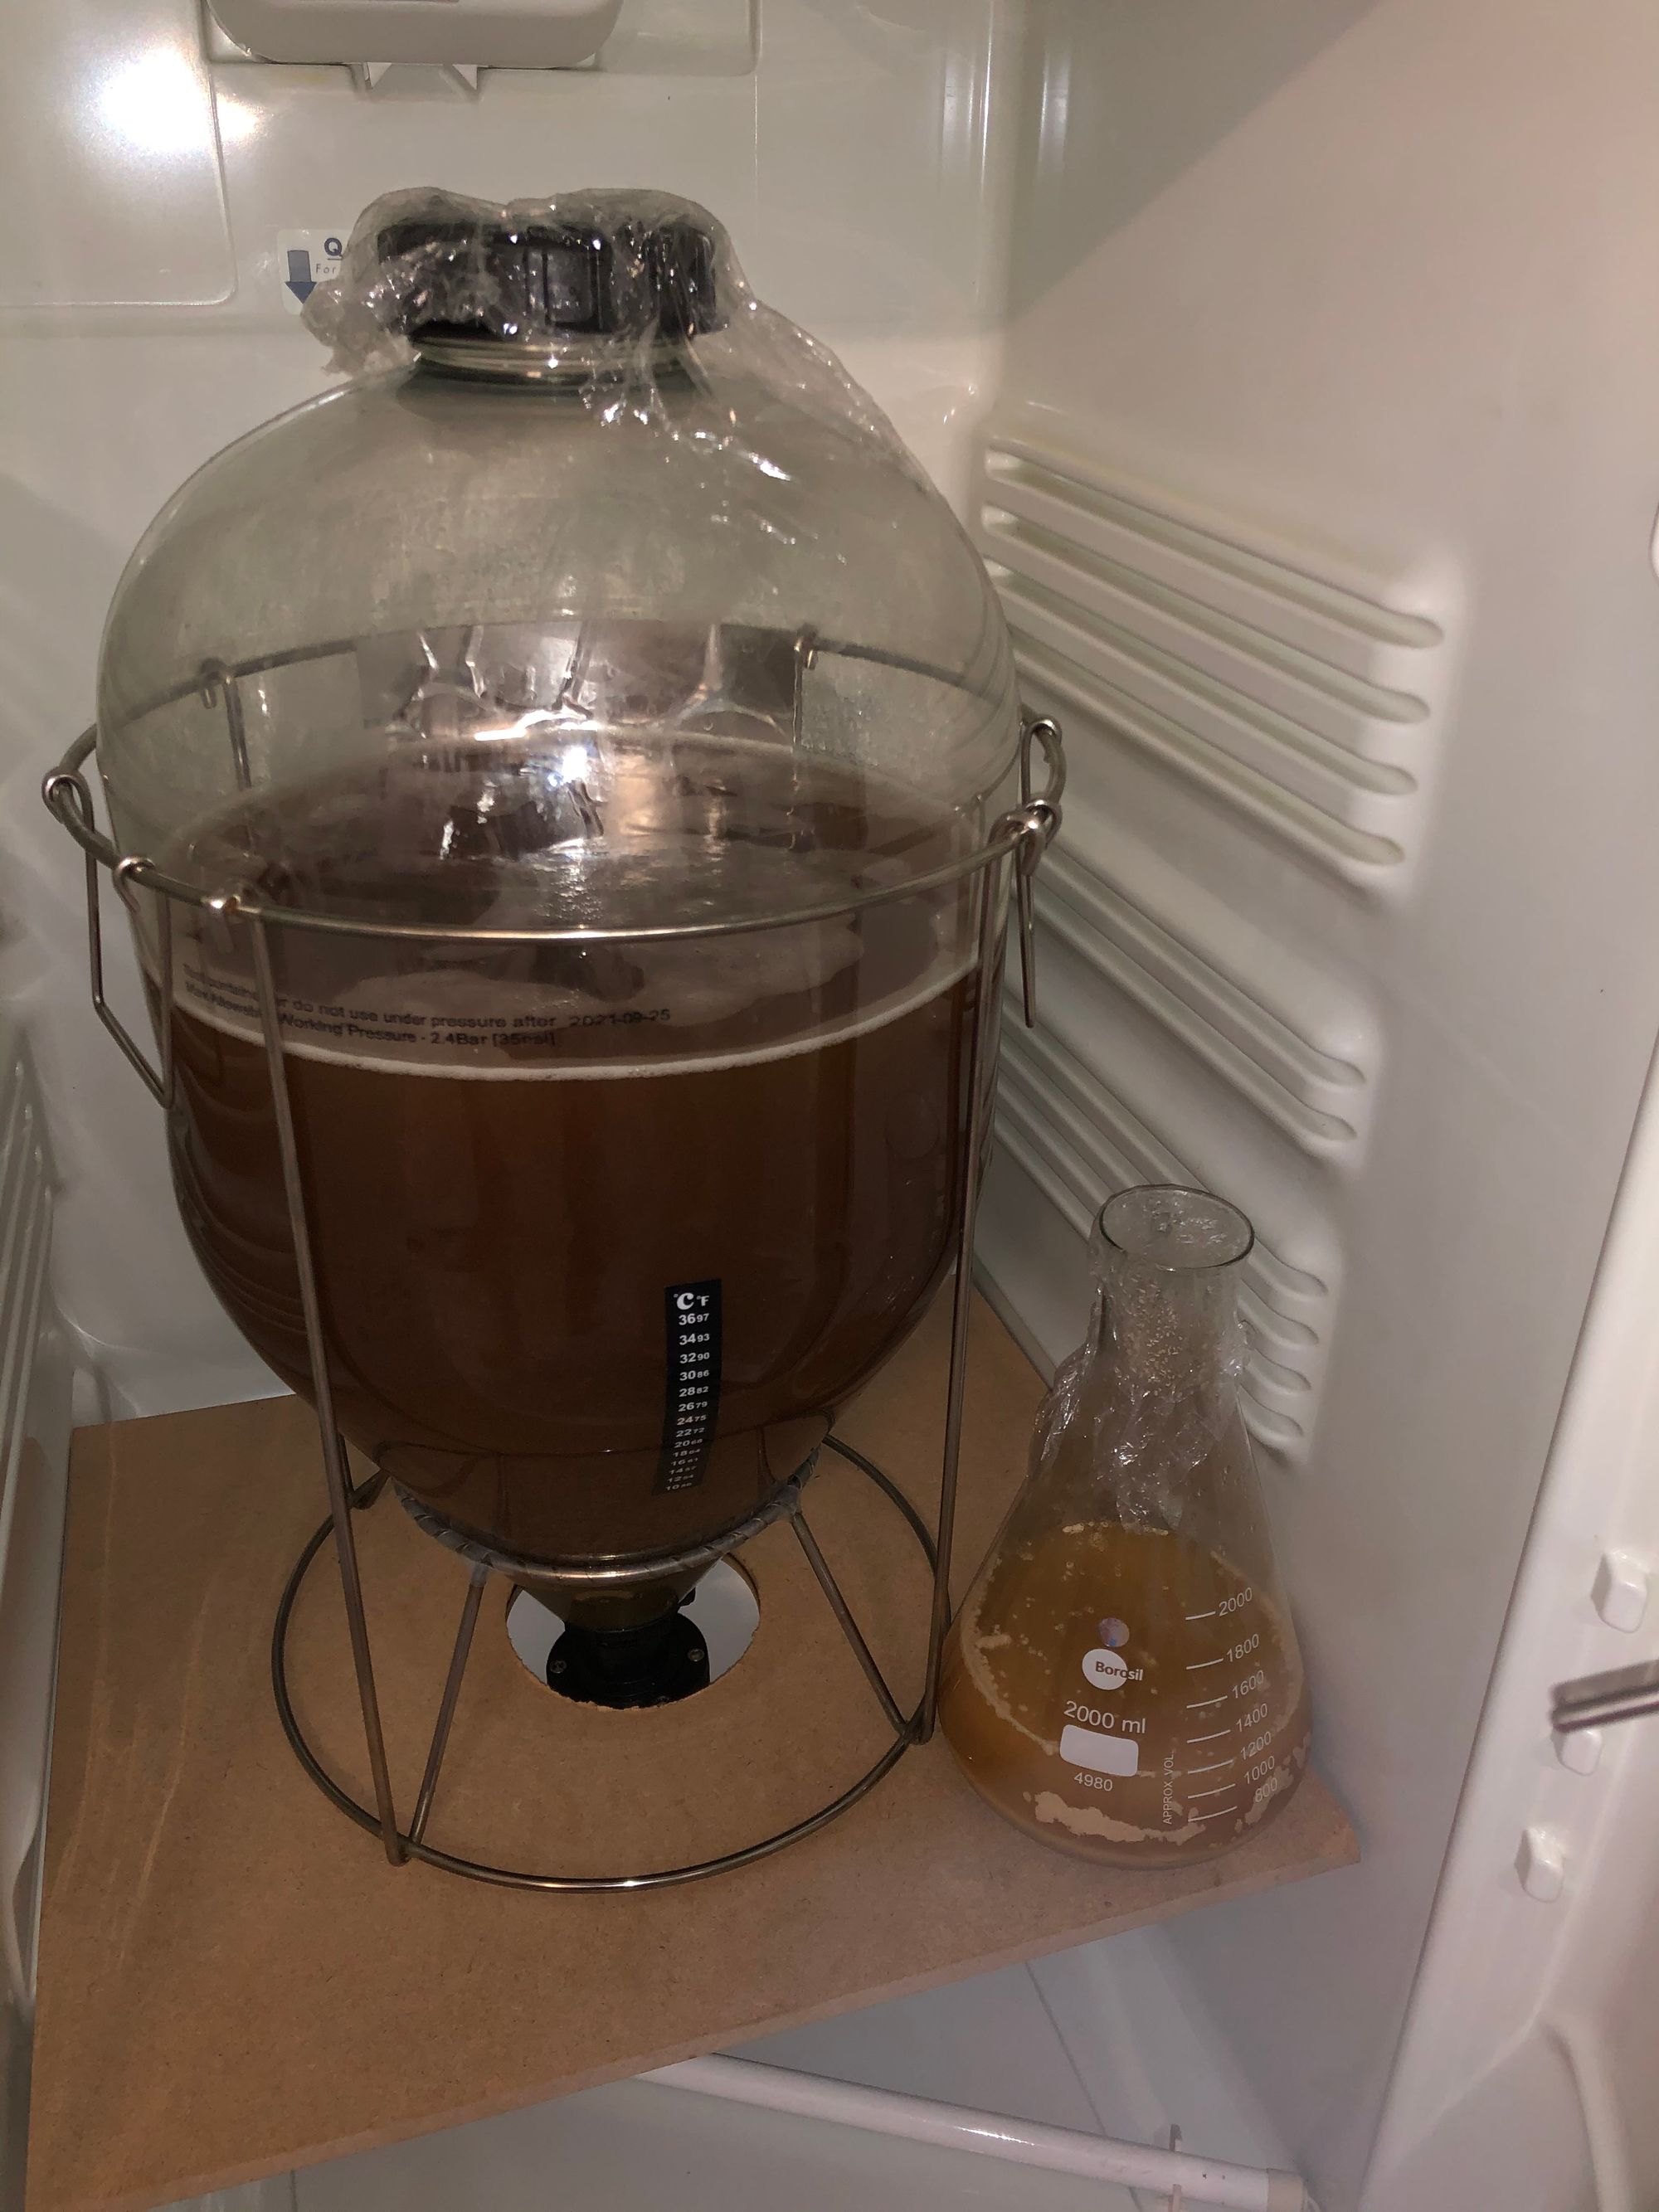
I decided I needed a third FV, but instead of buying another bin I opted for the Fermentasaurus (gen 2 with improved butterfly valve, etc.). Thanks again to Mars Brewing Supplies.
I used the priming solution calculator on brewersfriend.com to calculate the amount of sugar required. As this was a stout, with low levels of final carbonation desired, it's a good choice to start experimenting with this method because of the lower risk of over-carbonation (bottle bombs, etc.).
For 22 litres at 17C, aiming for a mid-range level of 2.0 volumes of CO2 gives 92.9g of sugar. I diluted 90g of caster (cane) sugar into 1 cup of boiling water, which I continued to boil for ~5 minutes before removing from the heat to allow to cool.

After cooling, and the standard cleaning and sanitising, this was added to the Fermentasaurus. Note that the Fermentasaurus has a maximum temperature rating of 50C, so you can't pour boiling water straight in.
Another advantage of adding this liquid to the racking FV is that the beer can be racked into the liquid to reduce oxygenation.

The tube, which needs to be sanitised inside and out, should be long enough to reach the bottom of the racking FV and curve around slightly to reduce splashing. This results in a very smooth circular motion of the beer, and the conical shape of the Fermentasaurus lends itself to this very nicely. I had to open the cupboard doors to smooth the flow as much as possible, but transfer was complete in no time.

Once all the beer was transferred, I needed to get the beer into the bottles. Unlike the standard bins, the Fermentasaurus doesn't come with a tap/spigot, but instead has a connector to attach to a pipe.

I still wanted to use the bottle fillers from the original kit, so I needed to buy a length of 10mm pipe (50cm was fine) to connect this to the Fermentasaurus. Despite initial concerns, having more flexibility in the bottle filler actually made filling the bottles easier.
Final job was to label the bottles and transfer to the conditioning fridge where they'll stay for a couple of weeks before I pack them away for a month or two.

The nice thing about stout is that it tastes pretty good from the start. I've been told that this will take 3-6 months to reach its prime, but I'm sure I'll be sampling before then.